Set up your Brightspeed Fiber Internet
Here’s how to set up your Brightspeed Fiber Internet.
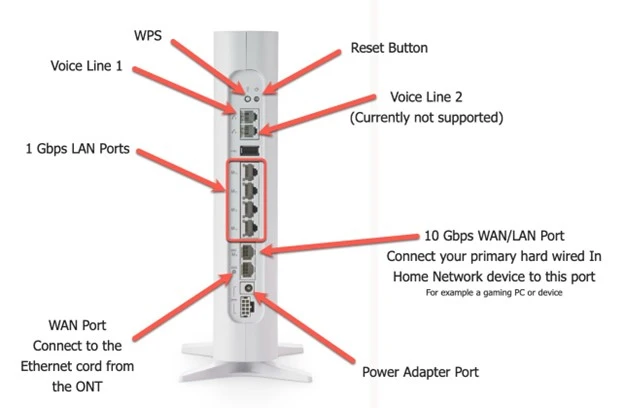
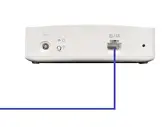
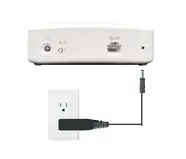
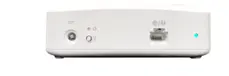
This is a picture of your new router.
Installation steps:
- Go to your existing Brightspeed router and unplug it from the outlet.
- Remove the Ethernet cable from the WAN port of your current router.
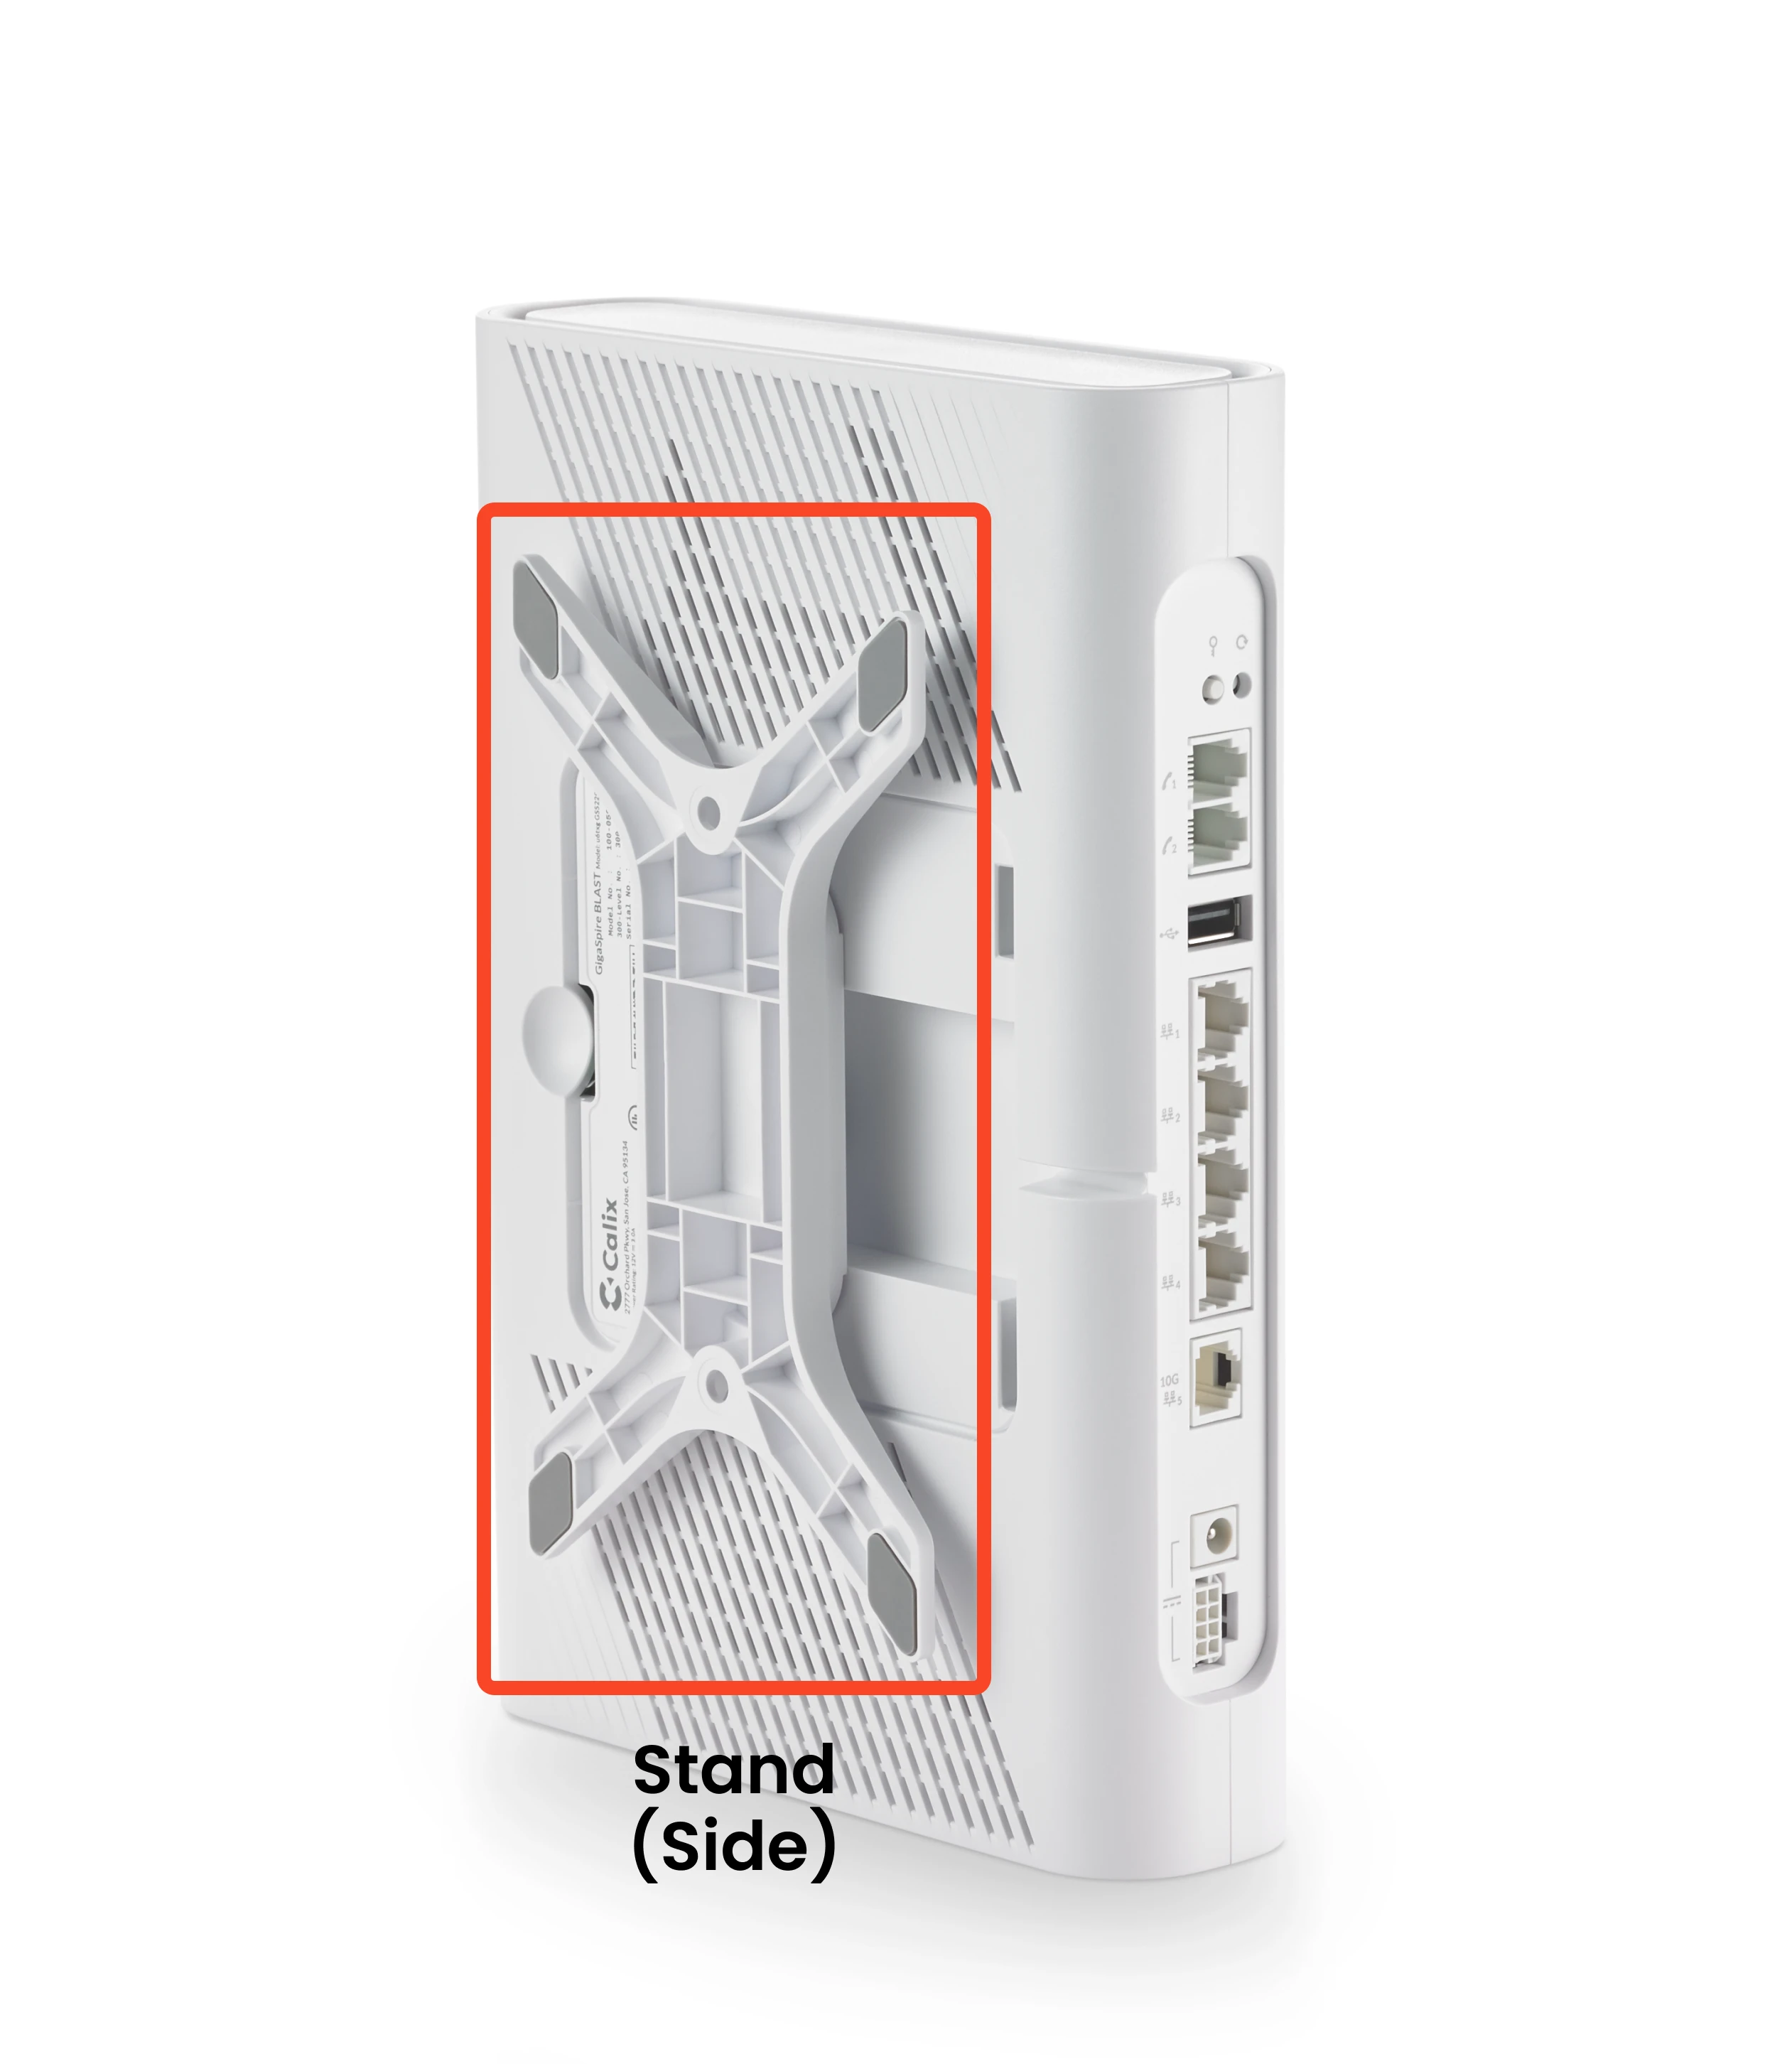
NOTE: If you have any devices connected to the LAN ports of your current router, leave them for now. You will connect them to your new router once you get it up and working. - Install the support base of your new router. You can install the base on the side so the router lays horizontally (see below), or you can install it on the bottom so the router stands vertically.
- Plug in the Ethernet cable you removed from the WAN port of your original router, and connect it to the WAN port of the new router.

- Take the power supply provided in the box of the new device and connect it to the power port of the new router. NOTE: It’s important to use the power supply that came with the new router.
- Plug the power adapter into your outlet. The router will begin its boot up sequence, and make any firmware updates it needs. Once the LED light turns solid green, your device is ready to use.
- If you had any devices connected to the LAN ports on your old router, you can now connect them up to your new router by following these steps:
- Connect the device where you perform your most data-intensive tasks—such as video streaming, video calling, online gaming, accessing cloud services, and downloading large files—to port 5, which enables the device to use multi-gig service. Your device must have a compatible multi-gig network interface card.
- Connect any other devices to ports 1–4, which enables a maximum speed of 1 Gbps depending on your plan.
To connect a wireless device to Brightspeed WiFi, use the Brightspeed WiFi app, the network security key, or the WPS button on the router and follow the instructions below.
- Brightspeed WiFi app
Download the Brightspeed WiFi app from the Google Play or Apple App Store. Follow the step-by-step instructions within the app to set up your WiFi. You will need to scan the QR code located on the bottom or side of your new modem. - Network security key
Turn on WiFi and select your network (SSID) from the list. When prompted, enter the network security key or passphrase and choose "Connect" or "Join." You can find your network security key on a sticker on the bottom or side of your modem. If you've customized your network login, you can look up your credentials in the modem settings. - WPS button
Press the WPS button on the router. It will usually start flashing amber or orange to indicate it’s searching for a device to connect. In your device's WiFi settings, select the network (SSID) you want to connect to—the connection should complete without needing a password.
- Brightspeed WiFi app
- Return your old router. Go to Brightspeed.com/returnmodem for return instructions.
If you have WiFi extenders connected to your old router, you will need to pair them with your new router by following the instructions below:
- Make sure your new router is plugged in and the internet service is active.
- Get your WiFi extender.
- Plug one end of a CAT5 cable into a LAN port on your new router.
- Plug the other end of the CAT5 cable into the WAN of the WiFi extender.
- Plug the WiFi extender into a power outlet
- The devices will start pairing automatically. This may take up to 5 minutes. Pairing is complete when both units display a green light.
Pairing is complete when both units show a green color light. - Disconnect the WiFi extender from your new router and move it back to its original location or room.
- Plug the WiFi extender into power.
- When the light on the back of the WiFi extender is solid green, the system is ready
Top modem/router topics
- Set up your modem and activate internet
- Connect devices to your WiFi network
- Should you use 2.4 or 5 GHz WiFi?
- Brightspeed compatible modems
- How to read your modem lights
- When and how to use modem reset
- How to return a modem
- How to upgrade your modem's firmware
- Modem or router: What's the difference?
View all Modem/Router topics
Top tools
Log in to access our most popular tools.
Brightspeed services support